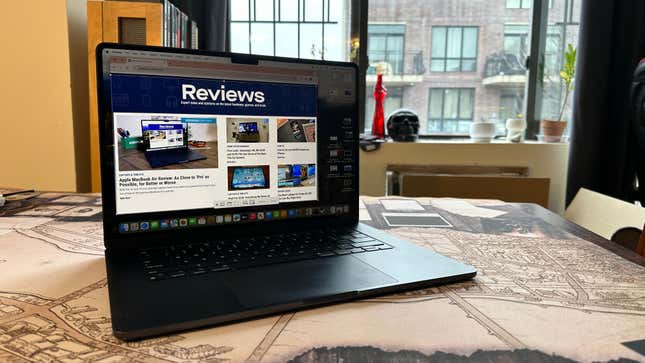
There is no better machine to screen capture with than Macs and MacBooks, period. Apple has made it incredibly easy to snap a picture of the full or part of the screen. If you’re used to Windows and the annoying Snipper Tool, MacBooks will feel like a screenshotter’s paradise by comparison. You’ll need to memorize a few key shortcuts, but once you have those down pat, it’ll be screenshot city from here on out.
If you want to take a screenshot of your Mac, hit Shift + Command + 3. This will take a screenshot of your entire work surface. You’ll then see a snapshot preview in the bottom right of the screen. You can click on the preview to bring it up, and then, if you want to edit it, press the little marker-like edit button on the top right. This lets you crop the image or add other annotations.
If you only want to screenshot part of your display, hit Shift + Command + 4 instead. This will turn your cursor into a crosshair. From there, click and drag across the part of the screen you wish to capture, then release once you have the correct selection. If you didn’t get it quite right, you can again edit the image to make it just right. If you want to bring up the full toolbar for screen capping, hit Shift + Command + 5.
Simple, right? After you screenshot anything, you’ll likely find them on your desktop by default. You can grab them straight from your desktop screen or go into Finder, then select Desktop from the leftmost menu. If you want to change where the screenshots end up, hit Shift + Command + 5 and select options. You can select any folder to which you wish to send your screenshots.


+ There are no comments
Add yours