Keurigs have long been a quick and easy way to make coffee at home without having to go out to a coffee shop and spend $7 on your caffeine fix. After a while, though, that fresh cup of coffee may not taste as great as when you first got your machine. If you go too long without cleaning your Keurig, mold will begin to form, which could make you sick and dramatically affect the taste of your coffee. Luckily, properly cleaning your machine properly is straightforward and easy to do.
By cleaning your Keurig, you’ll benefit in a lot of ways. The most immediate change is your coffee will taste the way it should, but you’ll also reduce the risk of mold and having your machine run into mechanical issues due to grime and residue build up. To keep your personal caffeine dealer in tip-top shape, it’s recommended to clean it once a week and do a deep-cleaning descale process to keep its internals working as they should every few months.
Below, we’ll lay out everything you need to clean your Keurig and keep your coffee tasting great. For more, don’t miss 7 foods you should be cooking in your air fryer and the best water filter pitchers for 2024.
Before cleaning your Keurig

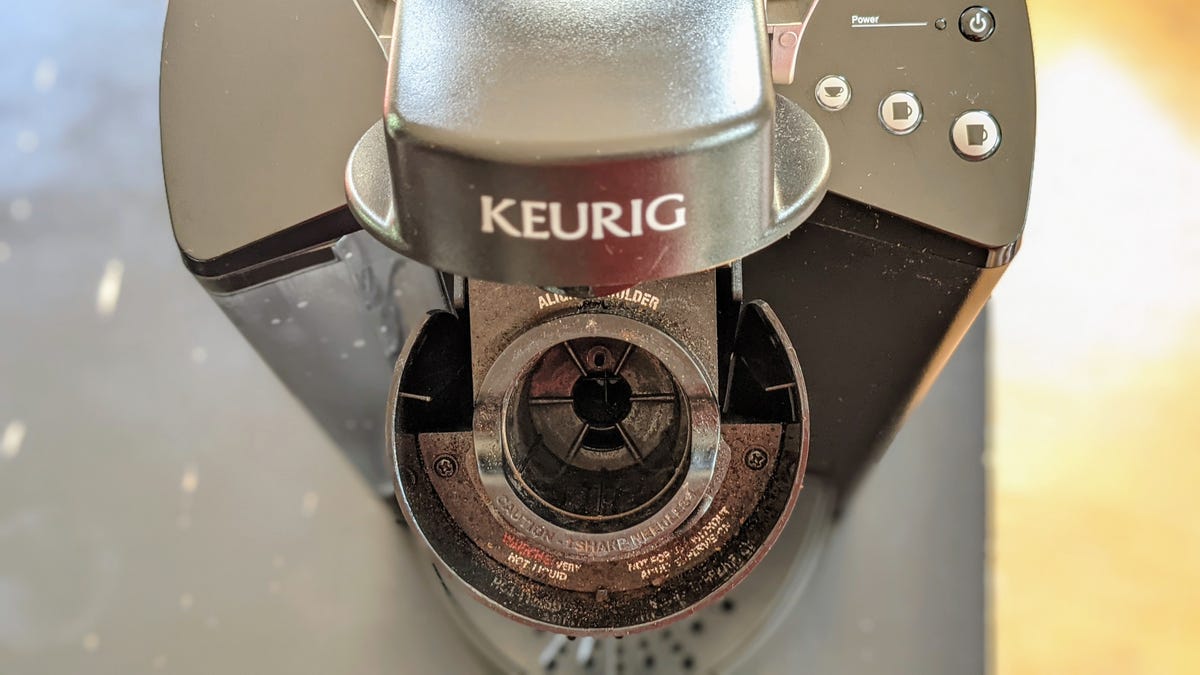
The pod holder is typically one of the dirtiest spots on a Keurig.
Before you start your cleaning process of your Keurig, make sure there isn’t a used pod still in the machine’s pod holder. Leaving your K-Cups for days on end before taking them out can promote mold growth, and where do you think that mold could eventually end up? That’s right, your favorite coffee mug. Take your K-Cups out after they’ve cooled down a bit from your brew.
Also make sure you unplug your Keurig before cleaning. This’ll make it easier to spin it around and move it if necessary while you’re cleaning it.
Wash down the outside of your machine

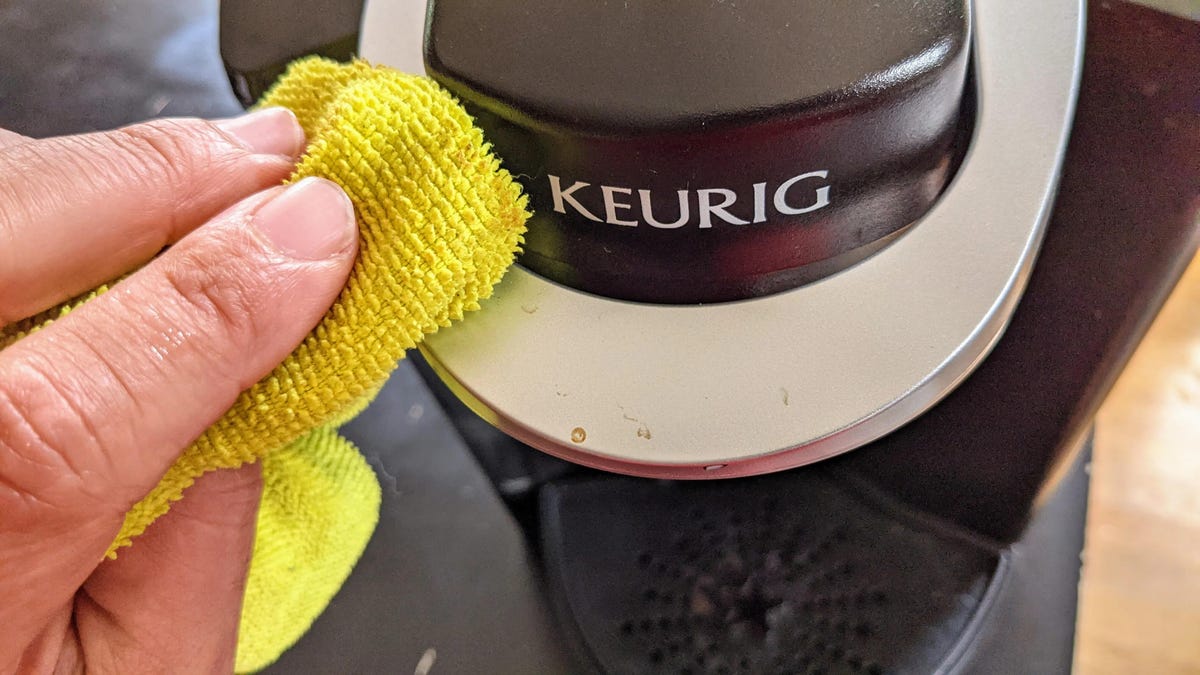
We’re not talking with a waterhose, but give your Keurig a nice cleaning on any of its outside surfaces to get rid of any dried coffee residue. Keurig itself suggests wiping down your machine every day.
Clean the drip tray

The drip tray should be emptied and rinsed every day.
Spilled coffee is likely to build up in the drip tray, so make sure you’re emptying and cleaning it regularly. Otherwise, expect mold and smells to follow after weeks of not tending to it. Washing the drip tray is quick and easy — dish soap and warm water will do the trick.
Clean the reservoir
Although it’s primary purpose is just to hold water, don’t skip on giving the water reservoir and lid some love. You can hand wash it with warm water and dish soap or throw it in your dishwasher. Before you clean these though, make sure you take out the water filter at the bottom of the reservoir first; otherwise, you just made a new problem for yourself.
Clean the K-Cup holder

The K-Cup holder is definitely in need of cleaning.
This part of your Keurig sees most of the action and in turn, can be one of the grosser parts to clean. While it’s best if you clean every part of your machine, if you chose to just do one of these steps, it should be this one, by a lot.
Check the user manual that came with your machine or online to see how to properly remove the holder and so you can clean underneath it. You can run the holder under hot water to wash away any coffee grounds, residue or oils, but wiping it down a bit will be helpful as well. Also, don’t forget there’s a sharp needle in this area to puncture the K-Cups, so take care around that.
Descale your machine with vinegar or descaling solution

It’s recommended to descale your Keurig every few months.
This one you probably expected to see show up in this list at some point. But if you didn’t know, descaling your machine is a necessary task to ensure your machine works properly and continues to do so in the long run.
Given the sheer number of different models, activating descale mode on your specific coffee machine may be a little different, but Keurig’s descaling support page should help you find the right combination of buttons to press.
In general, descaling involves filling your Keurig’s water reservoir with a combination of vinegar and hot water (or Keurig’s own, pre-made solution) and running all of the solution through the machine without a pod inside until you need to add more water. Of course, make sure you have a container big enough to catch the vinegar and water solution as it flows out. Let the Keurig sit for a few minutes and then fill the reservoir with water and repeat the brewing process. You’d probably benefit from repeating this a few times to avoid any potential vinegar aftertaste.
Luckily, descaling your machine isn’t a weekly requirement. Keurig encourages you to descale every few months, though.
Time to upgrade your machine? Check the best Keurig coffee makers.


+ There are no comments
Add yours