The Cluckin’ Bell Farm Raid in GTA Online can net you $500,000 following the completion of the heist. All of this cash is earned through stealing the cartel’s cocaine at the chicken factory and returning it to Vincent.
As with any heist in GTA Online, you can complete the Cluckin’ Bell Farm Raid over and over again (after a short cooldown). This means you have a concrete source of $500,000 as long as you keep completing the six missions in the heist. If you want to truly maximize your earnings potential with the Cluckin’ Bell Farm Raid, though, you need to use some key strategies that allow you to finish the raid in under an hour.
Check out the guide below to see the fastest way to complete the raid.
Completing the Cluckin’ Bell Farm Raid and making money quickly
There are a few specific strategies you need to take advantage of if you want to complete the raid as quickly as possible and make a lot of money fast. I do recommend you run the raid a couple of times first to fully understand the missions, but these strategies can be used on your first run as well. You can read our complete walkthrough of the raid to see how each mission is completed in-depth.
Below, I’ll go through the missions one-by-one and offer the fastest way to complete them. If done correctly, the raid should only take you roughly 50 minutes to an hour to finish. Every time you complete the raid, you walk away with $500,000, so this is a solid way to essentially make $1 million every two hours in GTA Online.
Mission 1: Slush Fund
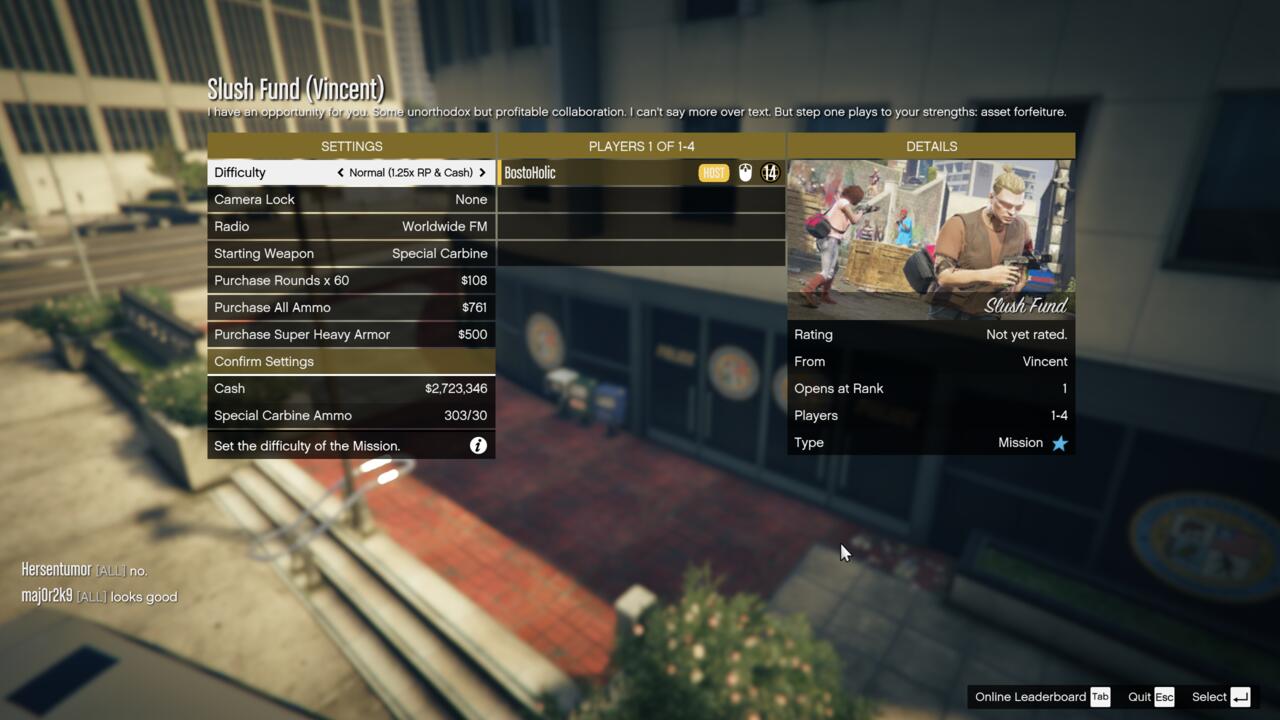
First and foremost, you have the Slush Fund mission, which doesn’t really have any set strategies to go along with it. However, for this mission and all future missions, I recommend playing on “Easy Difficulty.” You earn the same amount of cash at the end of the raid regardless of what difficulty you play on, so to be as fast as possible, you need to ensure the enemies can be killed quickly. You won’t earn the same amount of RP, though, so if that’s important to you, play on “Normal Difficulty.”
In Slush Fund, all you need to do is drive to the money laundering building, enter the building, clean out the dryers for cash, and then walk out and go back to the Vespucci Police Station. The enemies don’t need to be taken out, as they chase you after you’ve left regardless.
Mission 2: Breaking and Entering
Once again, there’s no real “fast” way to complete this mission. However, I do suggest committing the location of the Terrorbyte and laptop to memory, that way you can go straight to their locations after the mission has begun. With the Terrorbyte part of the mission, you want to use some heavy weaponry to take out the drones quicker. Regular machine guns will have a hard time bringing them down.
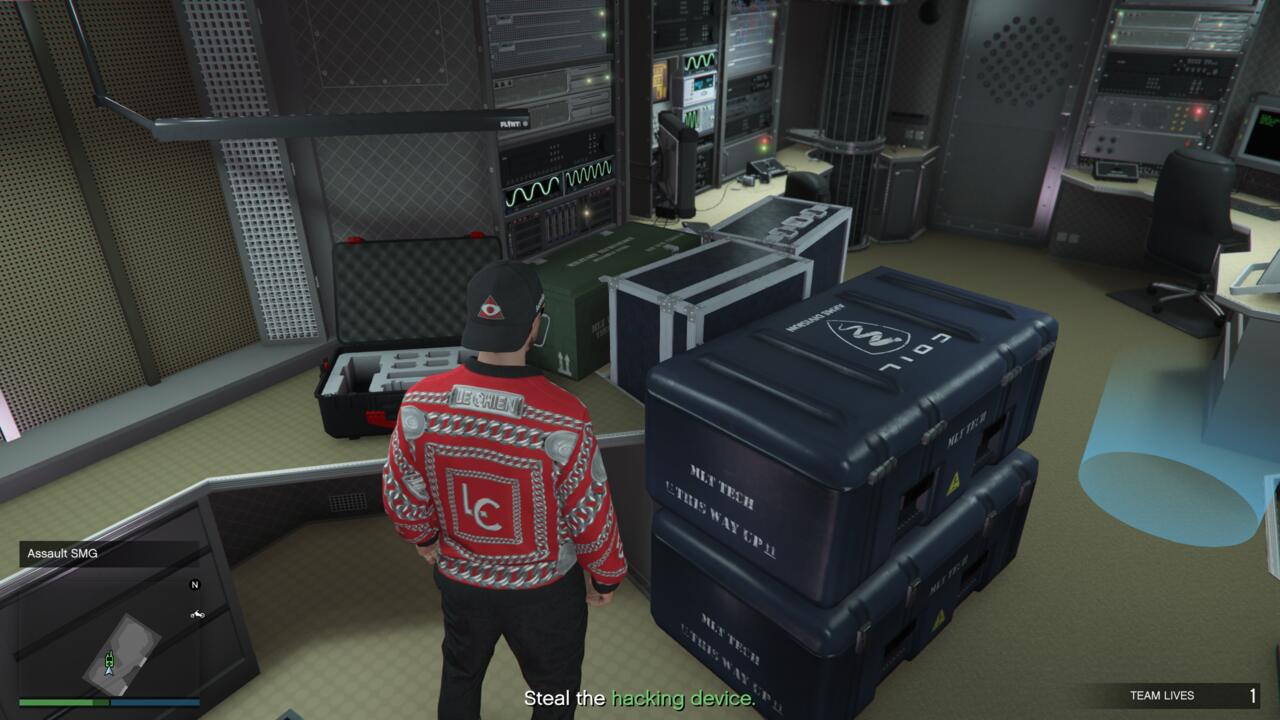
As for the laptop, simply grab it off the bench next to the owner and run straight back to your vehicle to head to the train yard. In the train yard, I’ve yet to find a reliable way to get the Train Key. For me, it usually drops from an enemy in the middle of the yard, next to the trailer and the red crate. However, it might be different for you, so just keep taking out enemies until you find it.
The rest of the mission can’t be completed any faster than normal. Just make sure you don’t die in the train and get your hacking device out at the right times.
Mission 3: Concealed Weapons
Here’s where the strategies start to come into play. For the Concealed Weapons mission, you want to go to Point C, and Point C alone. Don’t even bother with the other points, as Point C has the best weapons and gear. However, before you head there, you want to ensure you have either an armored vehicle or a fast one.
Point C is home to the militia and it’s located at the airport. The weapons are inside the hangar while the gear is out on the tarmac. You want to drive straight inside the hangar first, grab the weapons, and then head to the tarmac. Grab the gear there and drive away, don’t even bother with enemies unless you have to kill them.
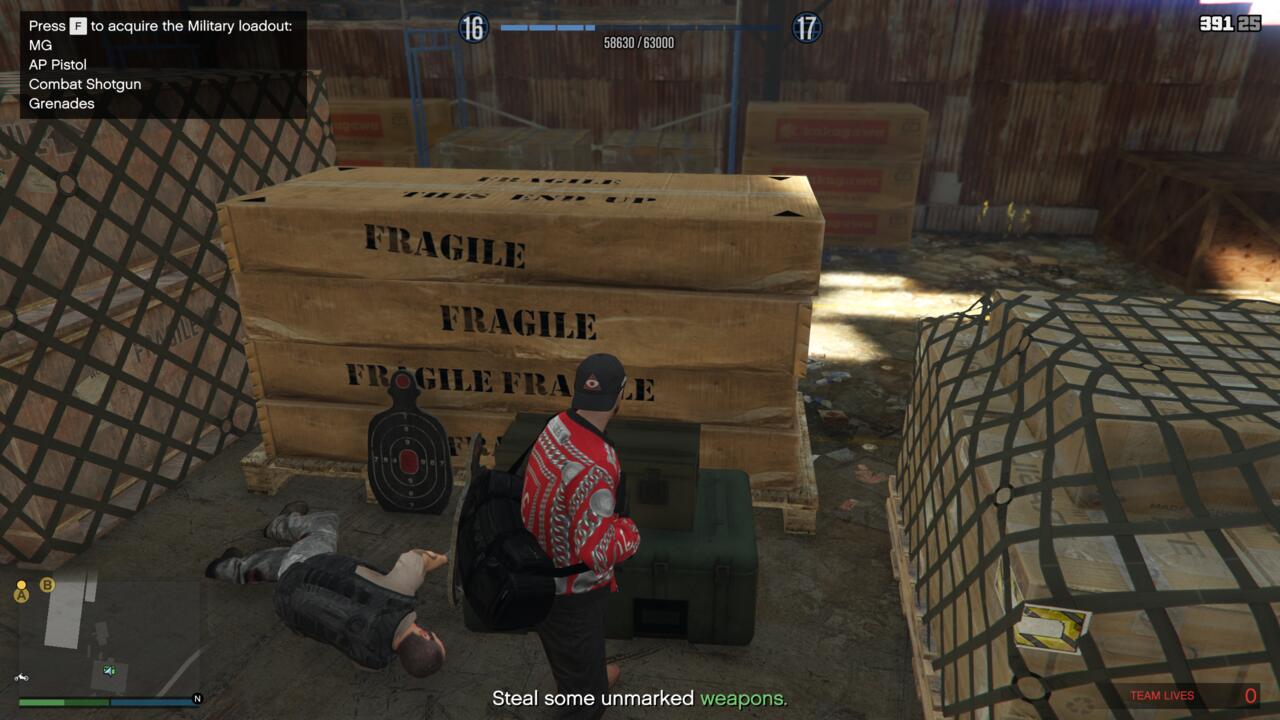

While Point A is technically easier to get the weapons and gear from, you’ll only be getting Light Armor. This can cause some problems down the line, especially if you’re playing solo, as the enemies start to increase. If you have the right vehicle, Point C can be just as fast and you get better gear.
Mission 4: Hit and Run
Hit and Run is one of the biggest time-saving missions in the raid, if you know what to do. For the mission, you want to head to Point A, home of the Marabunta Grande gang. It doesn’t matter what vehicle you bring, as you’ll be driving a new getaway vehicle soon anyway.
When you get to Point A, go straight to the garage on the opposite side of the road from the motel. Go to the right side of the garage and you’ll see a grey electrical box halfway up the wall. Shoot the box from your vehicle and the garage will open, revealing the getaway vehicle inside.
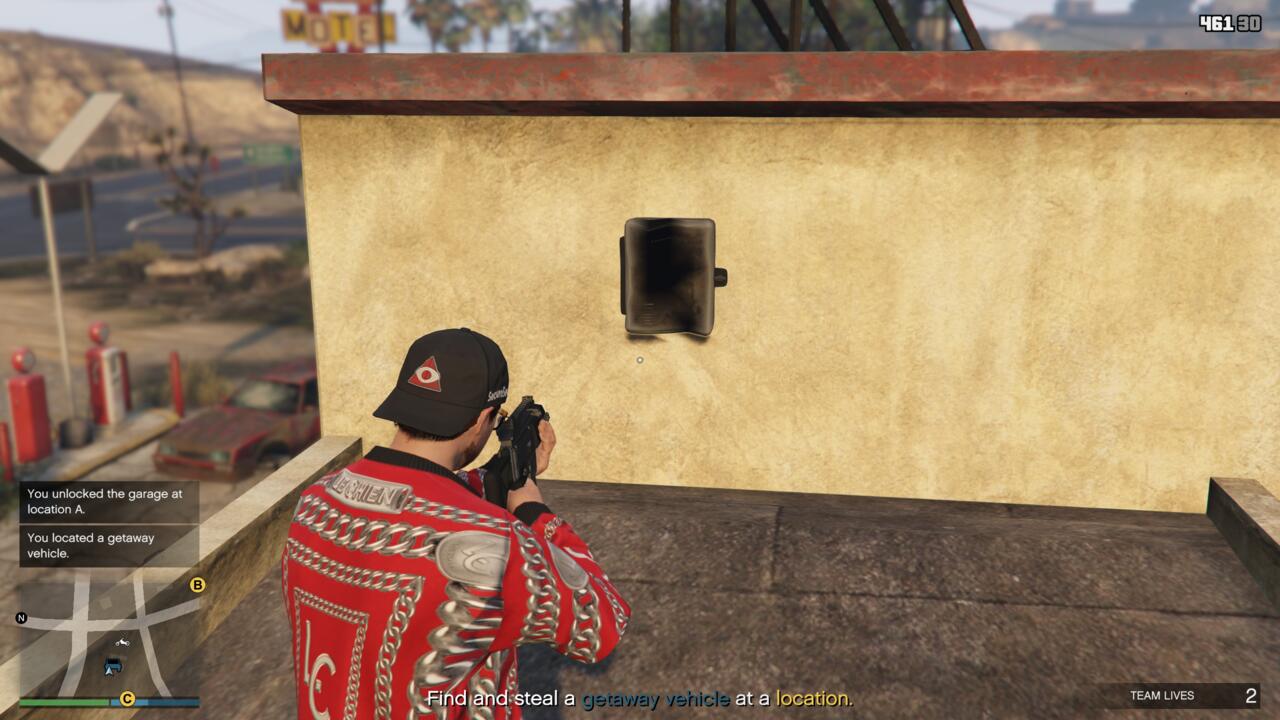

The getaway vehicle can be one of a few cars (mine was a Declasse Tulip). Get in whatever vehicle you get and drive out of the garage, ignoring the enemies. In the car, drive toward the train tracks, which are past the refinery and to the north of the garage. Go up the road a ways until you see the train tracks. Drive up to them and follow the tracks west. This makes it so no enemy cars will follow you and it’s a quicker route to get to Vincent’s garage.
Mission 5: Disorganized Crime
The fifth mission is fairly straightforward. Make sure you have a fast vehicle before embarking on the mission, though. You want to hack the first van you see and then go straight for the second van. With this one, kill the driver and anyone else inside after you’ve hacked it. When you do, you should be able to equip a Cluckin’ Bell uniform, which makes the next part of the mission easier.
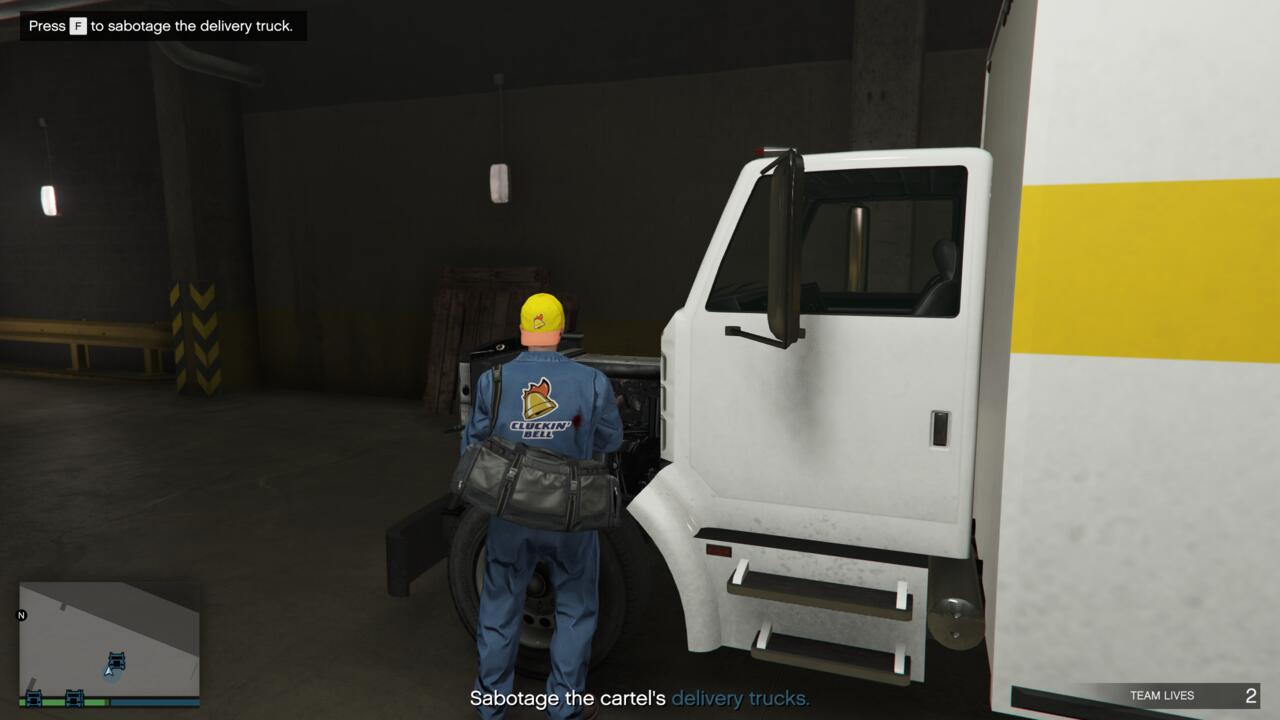

Wearing the uniform, go to the cartel’s garage, preferably with a silenced weapon. Start quietly eliminating guards and then sabotaging the trucks near the guards you kill. You can sabotage the trucks by going to the hood and pulling a wire.
After all five trucks have been sabotaged, go to the back of the garage and erase the CCTV footage. You need to do this if you want the sixth and final mission to be as painless as possible.
Mission 6: Scene of the Crime
In the sixth and final mission of the Cluckin’ Bell Farm Raid, you have to travel to the chicken factory and steal the cartel’s cocaine. If you erased the CCTV footage in the previous mission, you can enter the factory undetected. This is paramount, as the guards swarm you immediately if you don’t erase the footage.
At the factory, enter the room on the right side of the warehouse. In this room specifically, loot the Office Keys that are sitting on a desk on the right. Then, make your way to the back and enter the basement. Kill the guards and scientists inside and loot the cocaine sitting on the shelves and desks.
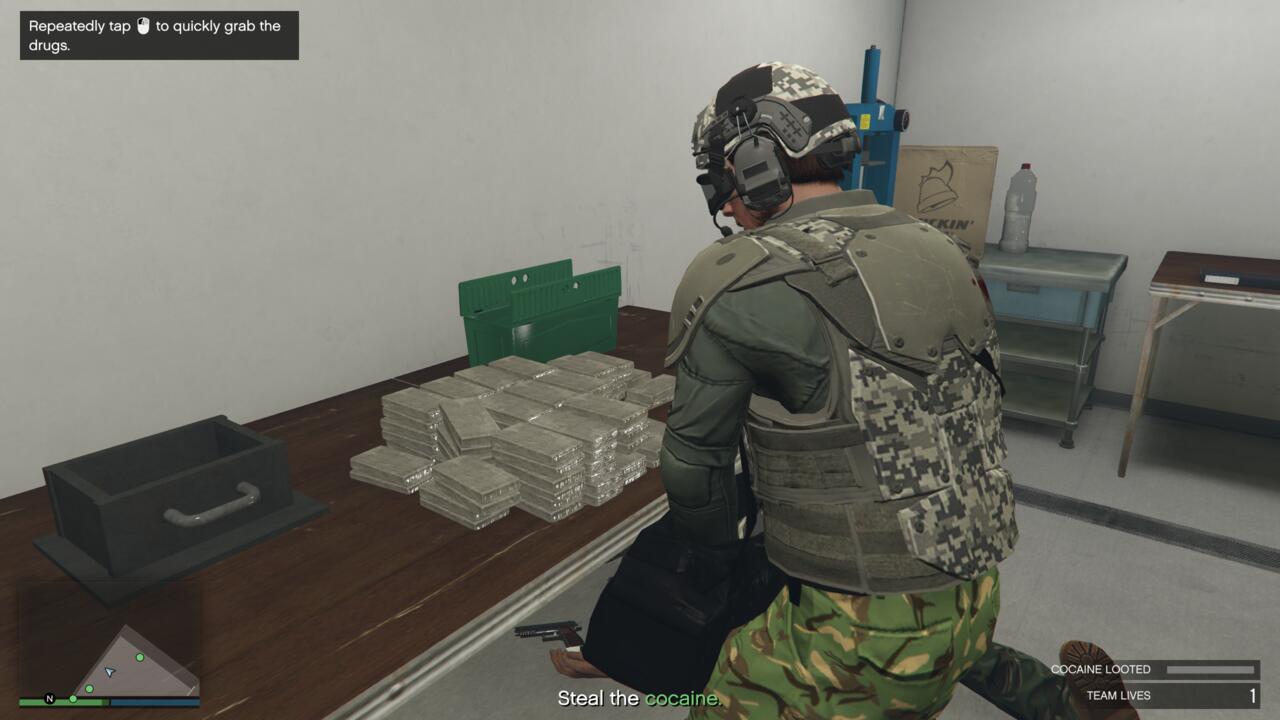

Exit the basement and go further back to enter a garage that’s controlled via a keypad on the right side of the garage door. Pick up a crowbar from the back right of the garage and open the middle container only. The other containers don’t have anything in them.
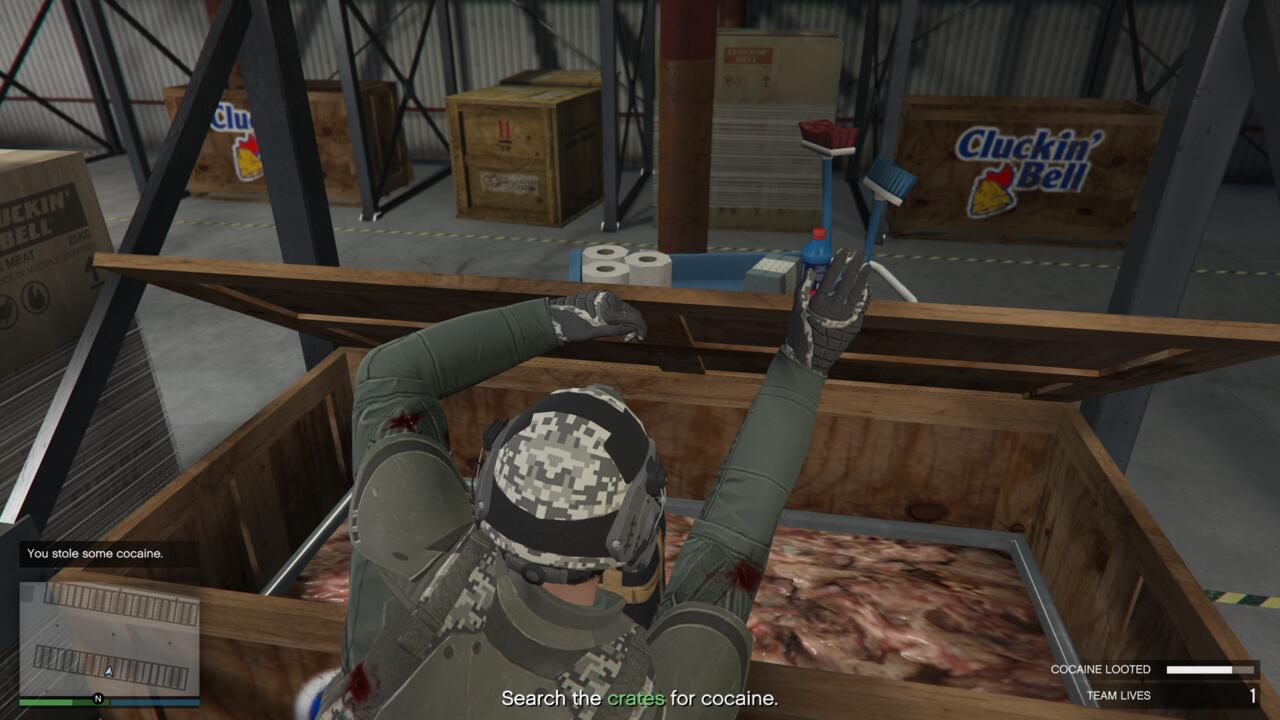

Exit the garage and then go to the office, using your Office Keys to open the door. Use your hacking device to visit the three computers in the next room and then enter the safe code: 59, 97, 98. Take the loot inside and go to the very back of the factory. Shoot the two electrical boxes to open up the garage door and sprint toward your getaway vehicle.
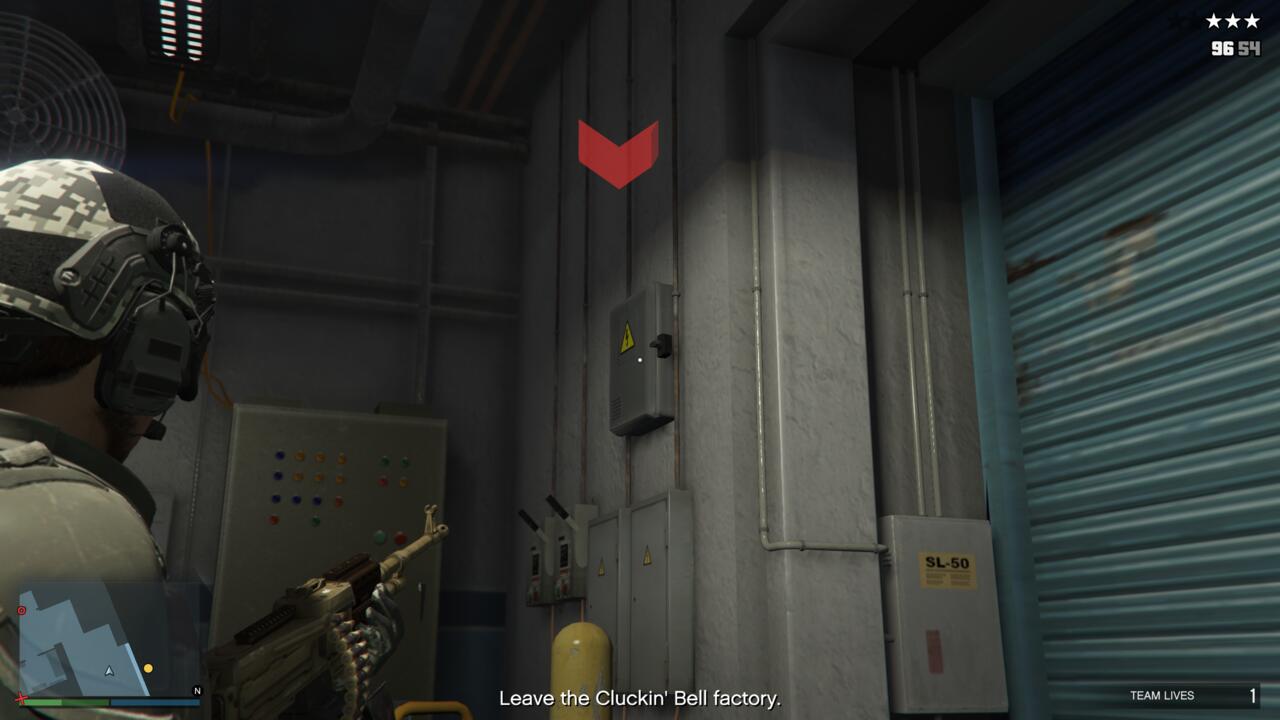

Inside the vehicle, you need to drive straight onto the train tracks, making sure to drive to the right. This will be in the opposite direction of your quest marker, but don’t worry about that. Keep driving along the tracks and you’ll eventually see that cops will stop chasing you. Eventually, you’ll have to exit the tracks since they go past Vincent’s lockup, but you’ll be close enough to your destination that it won’t matter.
And that ends the Cluckin’ Bell Farm Raid. Using these strategies, I was able to complete the raid in around 55 minutes, but that could have been sped up if I hadn’t wasted time killing some enemies.


+ There are no comments
Add yours