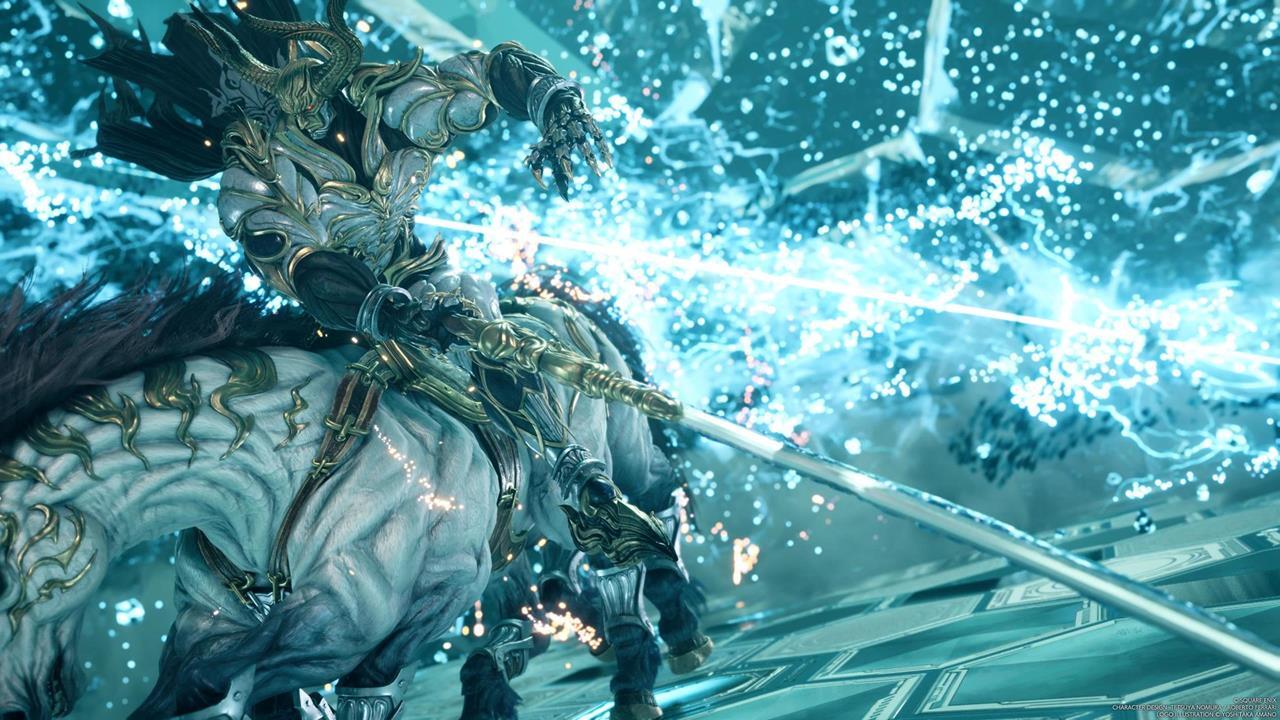
Most deities in Final Fantasy 7 Rebirth tend to unleash devastating attacks that can crush, scorch, or bombard foes. However, there’s one whose arrival spells certain doom for your enemies. Here’s our guide on how to get the Odin summon in Final Fantasy 7 Rebirth.
How to get the Odin summon in Final Fantasy 7 Rebirth
The Odin summon can be yours upon progressing up to Chapter 11: The Long Shadow of Shinra. This is when Cloud and co. return to the Nibel region. Although you can challenge the entity via Chadley’s Combat Simulator, we do encourage you to weaken it first by analyzing its summon crystals.
Likewise, you should also wrangle the Nibel Chocobo, since it can hover high up in the air if there’s a body of water down below. This mount will be quite helpful since the Odin summon crystals are in caverns that are normally inaccessible.
Odin summon crystal locations
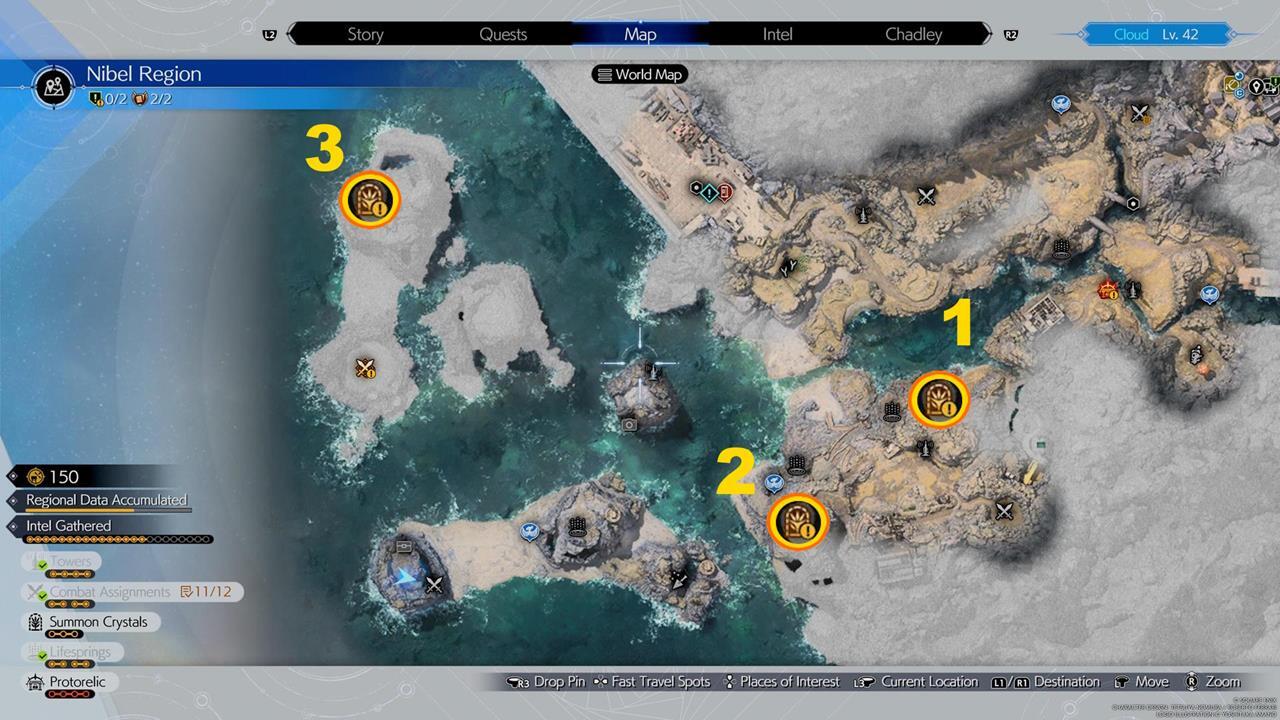
The Odin summon in Final Fantasy 7 Rebirth has the following crystal or sanctuary locations seen on the map below. Note that you can activate these in any order, though we’ve listed them based on how they’re numbered in-game:
- Crystal #1 – Inside a small cave by the inlet.
- Crystal #2 – Circle around to the southern portion of the rocky crags by the shore to find the cave entrance.
- Crystal #3 – Head to the northernmost section of the islands that are jutting out. Then, hover all the way to the top to reach the ledge.

Crystal Memory Matrix button sequences
These are the button sequences for all three crystals:
- Crystal #1: X-Circle-Square-Triangle-X-Circle-Square-Triangle.
- Crystal #2: Square-Square-wait-Triangle-Triangle-wait-Circle-X-wait-Circle-X.
- Crystal #3: Circle-wait-X-X-wait-Square-wait-Square-wait-Triangle-Triangle-wait-Circle.
Gallery
Odin boss fight
Before you begin the Odin battle in the Combat Simulator, we suggest equipping Revival Earrings, as well as selecting party members with healing and revival capabilities (i.e. Aerith and the Phoenix summon). Likewise, you should have spell materia that can cause status afflictions (i.e. Bio, Slow, and the like).
Note that the Odin boss can be pressured by doing the following:
- Landing ATB attacks.
- Evading the boss’ own attacks.
- Inflicting negative status effects.
That might sound simple enough, on paper, but here’s the kicker: if your characters get hit too many times, it will cast Gjallarhorn’s Warning. Take more hits afterward, and it will unleash Zantetsuken. This one-hit kill move will incapacitate all party members, unless they have Reraise active, a Revival Earring equipped, or any passive that leaves them at +1 HP. As such, this battle is heavily dependent on your skill at dodging its abilities, while also landing attacks and status afflictions to pressure and, eventually, stagger it.

Odin abilities when summoned
Once Odin has been defeated, you’re rewarded its summon materia. It has the following quirks:
- Summon Cost: 2 ATB once the summon meter is fully charged.
- Allfather’s Fury – Deliver a series of deadly sword strikes; costs 1 ATB.
- Ring of Helheim – Swiftly approach the target and deal damage to nearby enemies; increased damage on stagger; costs 2 ATB.
- Ultimate: Zantetsuken – Deal a massive amount of non-elemental damage; usually a one-hit kill attack against weaker foes.


This is how you get the Odin summon in Final Fantasy 7 Rebirth. Its rapid melee attacks, along with the devastating blow from Zantetsuken, should be more than enough to lay waste to your enemies. To learn about other powerful entities in the game, you can head over to our all summon materia guide.
A grand adventure awaits you in Final Fantasy 7 Rebirth. We’ve got all the tips and strategies for you in our FF7 Rebirth guides hub.


+ There are no comments
Add yours