Aurich Lawson | Getty Images
Previously, on “Weekend Projects for Homelab Admins With Control Issues,” we created our own dynamically updating DNS and DHCP setup with bind and dhcpd. We laughed. We cried. We hurled. Bonds were forged, never to be broken. And I hope we all took a little something special away from the journey—namely, a dynamically updating DNS and DHCP setup. Which we’re now going to put to use!
If you’re joining us fresh, without having gone through the previous part and wanting to follow this tutorial, howdy! There might be some parts that are more difficult to complete without a local instance of bind (or other authoritative resolver compatible with nsupdate). We’ll talk more about this when we get there, but just know that if you want to pause and go do part one first, you may have an easier time following along.
The quick version: A LetsEncrypt of our own
This article will walk through the process of installing step-ca, a standalone certificate authority-in-a-box. We’ll then configure step-ca with an ACME provisioner—that’s Automatic Certificate Management Environment, the technology that underpins LetsEncrypt and facilitates the automatic provisioning, renewal, and revocation of SSL/TLS certificates.
After we get step-ca listening for incoming ACME requests, we’ll talk through the ways to get the self-hosted services on your LAN-speaking ACME so they can start automatically requesting certificates from our step-ca certificate authority—just like how LetsEncrypt works.
I’ll focus exclusively on using acme.sh for requesting and renewing certs on clients because it’s the tool I’m most familiar with. But everything we do should be doable with any ACME client, so if you’re more comfy with certbot or dehydrated whatever, feel free to use that on your clients. The instructions should be pretty easy to adapt.
I didn’t understand any of that—we’re doing what now?
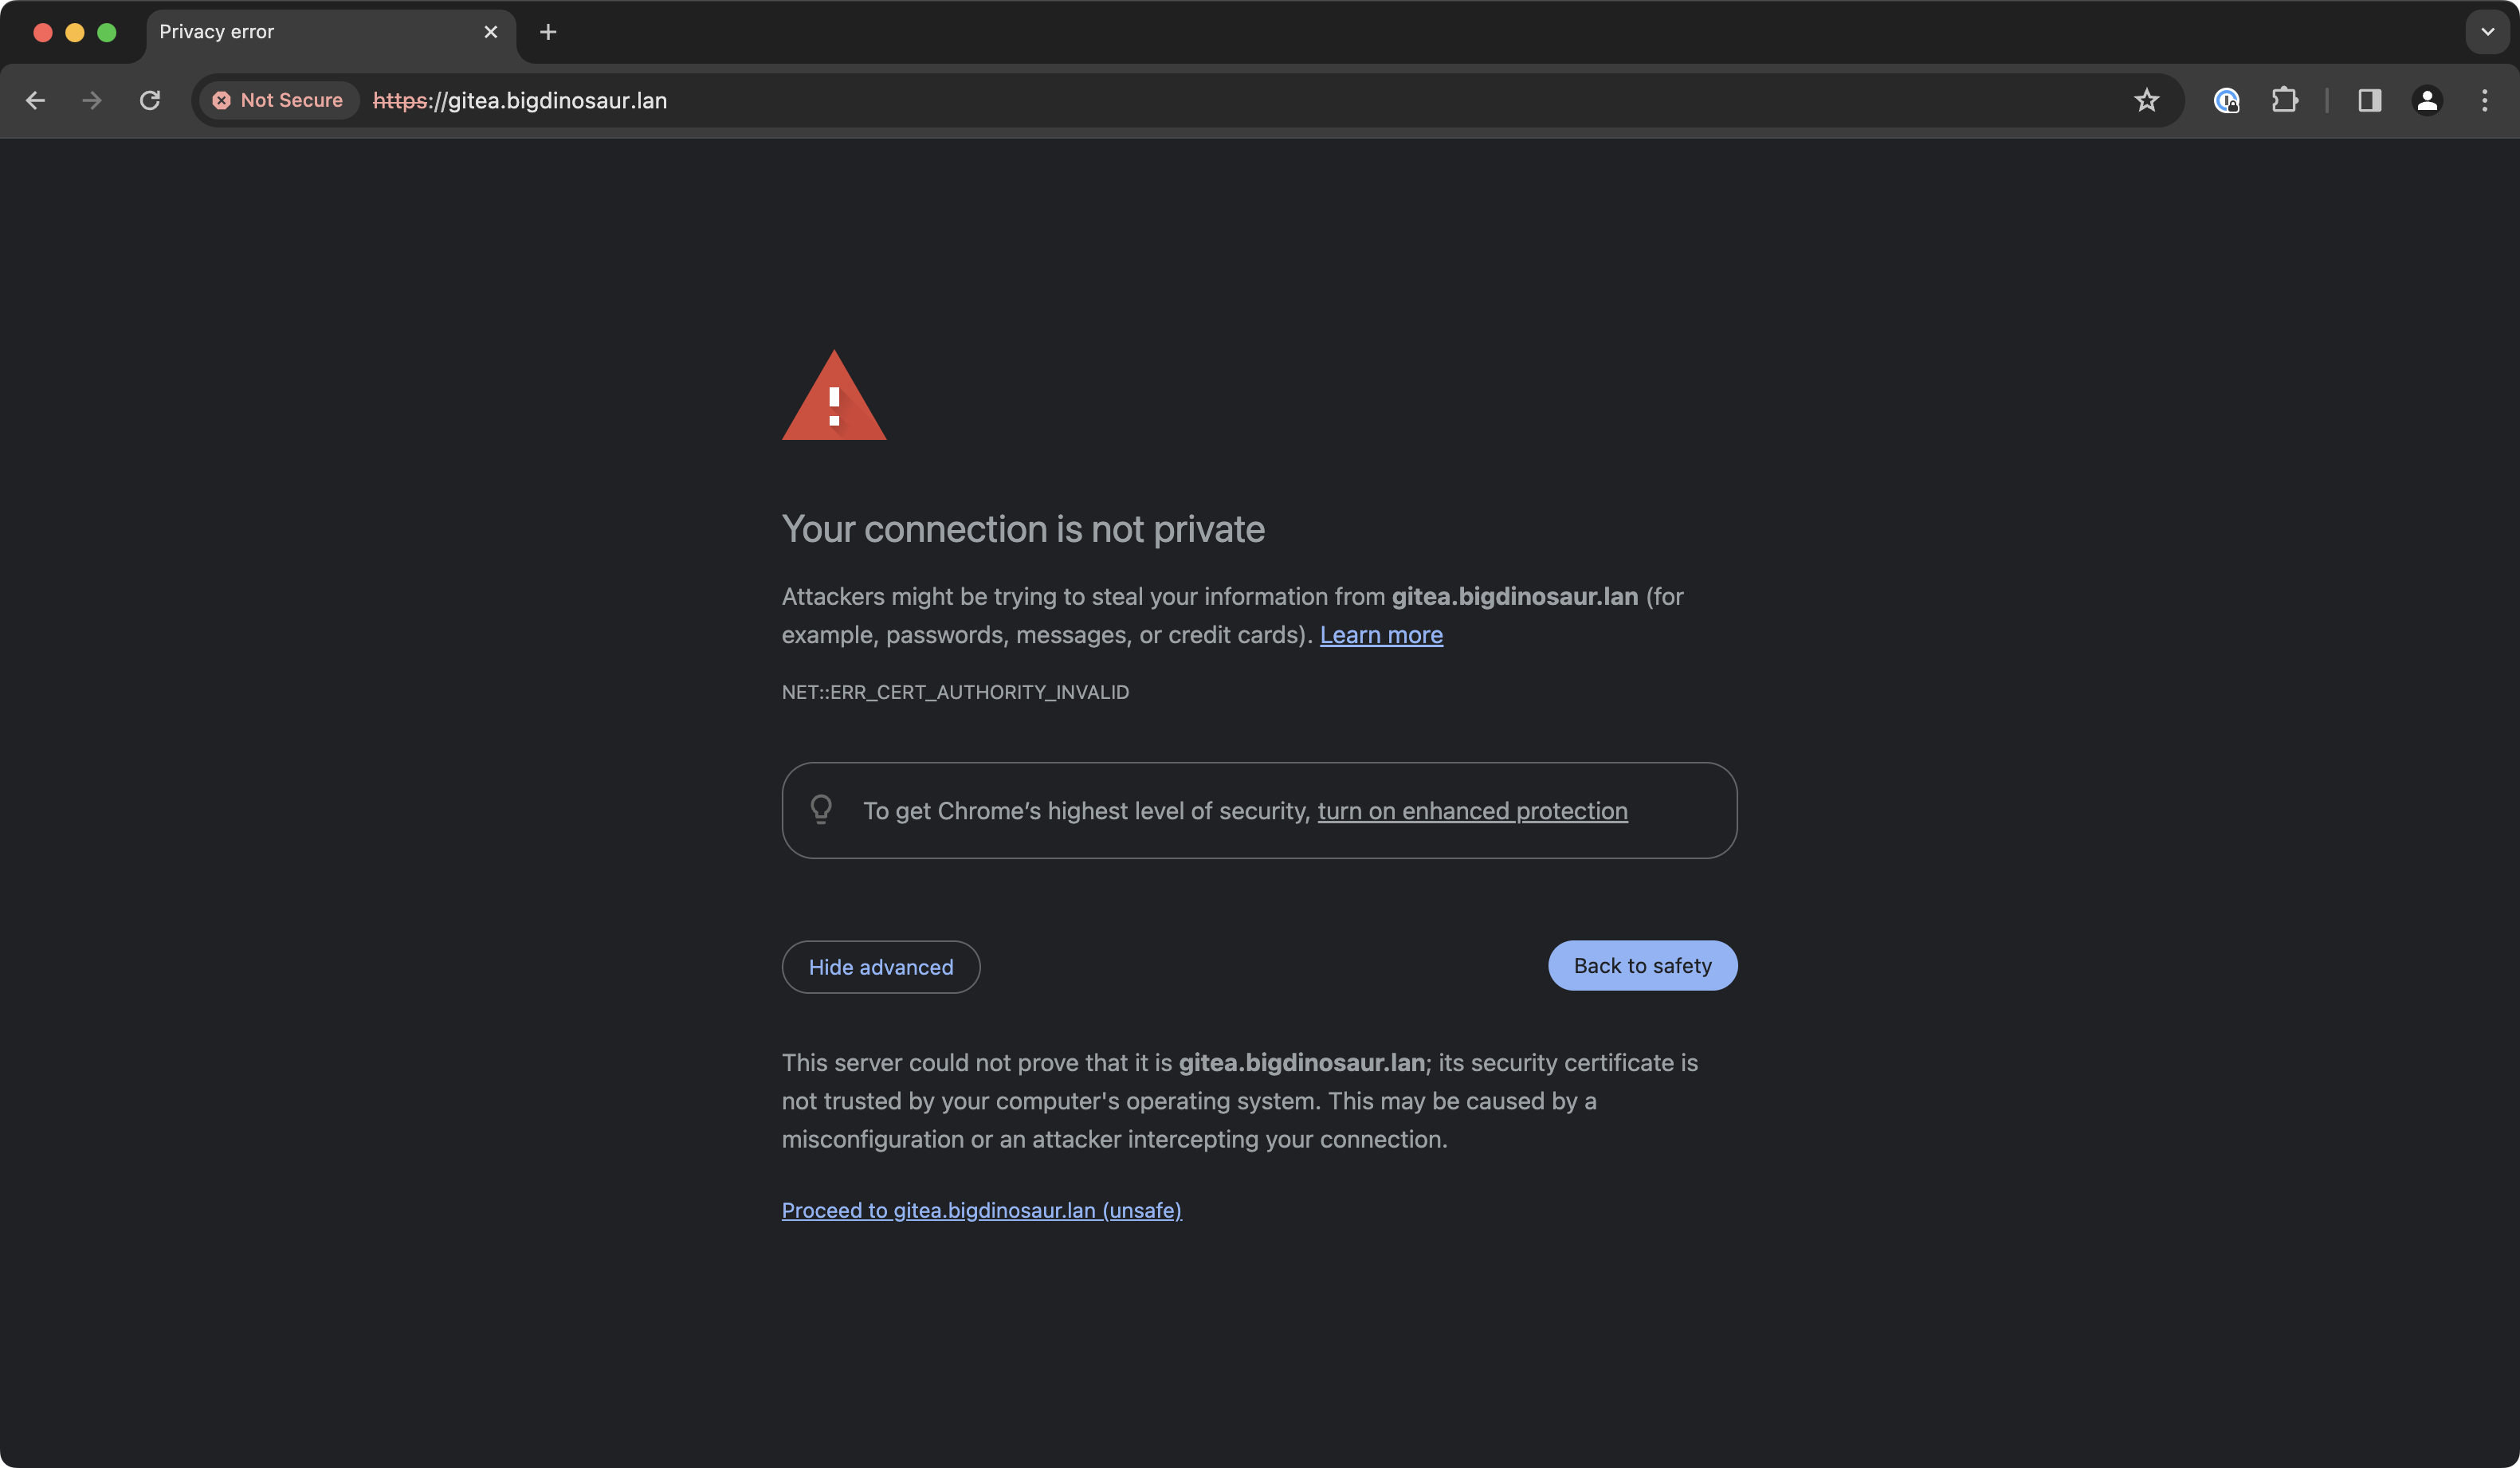
So you know how you install a new self-hosted thing on your LAN, and when you log into its web interface, you get a “your connection isn’t secure” warning because the thing you just installed is using a self-signed TLS certificate?

Lee Hutchinson
Those warnings seem spurious, and most people quickly become blind to them, but they serve a very important purpose—even if it’s a purpose a lot of people don’t care about.
See, web browsers use TLS and HTTPS to try to accomplish two connected and equally important things: first, and most obviously, to encrypt the connection between you and the web resource you’re accessing. But the second purpose—the one upended by self-signed certs and the source of the big warnings—is identity verification. An assurance that your encrypted communication is going to the person you think it’s going to is almost as vital as having the communication encrypted in the first place.
A chain of trust extends from the various root certificate authorities down through the TLS certificates they issue to endpoints, and, at least in theory, one should be able to trust that a CA has done some amount of due diligence to verify the identity and ownership of the endpoints it issues certificates to. When you trust a certificate authority, you are trusting that the identity attestations on the certificates that CA issues are in fact accurate—that seeing a cert for “www.example.com” really does mean you’re browsing “www.example.com” and not a site pretending to be that (or that your connection isn’t being compromised via a man-in-the-middle type attack).
Self-signed certificates break that chain of trust. Your browser has no way to validate that the resource is what its certificate says it is, because your browser doesn’t trust the issuer.
This is why browsers show big scary warnings when you visit a page that presents a self-signed cert: You have encryption, but no identity verification. To banish the warnings, we have to have both—which is what we aim to provide with our step-ca installation. We’re going to set up our own CA and get it trusted by your browser and by the devices and services for which it’s going to be issuing certificates.


+ There are no comments
Add yours